- October 14, 2026
- By: Thortex Dumpsters
- in: News

A bathroom remodel can leave behind more than a better-looking room. Old drywall, flooring, cabinets, packaging, tile, and lumber can take over a driveway or garage fast. Knowing how to dispose renovation debris before demolition starts keeps the job safer, prevents last-minute hauling runs, and helps you avoid putting the wrong materials in a dumpster.
For most home projects, the best approach is simple: sort what can be reused or recycled, separate anything restricted, and choose a disposal option that matches the amount of debris and the amount of labor you want to handle. A few pickup-truck loads may be manageable for a small project. A kitchen, roof repair, flooring replacement, or rental turnover usually calls for a roll-off dumpster or a full-service junk removal crew.
Not all renovation waste belongs in the same pile. Sorting as you work makes loading easier and gives you a chance to keep usable materials out of the landfill. Set aside clean cardboard, scrap metal, unopened supplies, and items that may be reusable, such as doors, cabinets, fixtures, or lumber in good condition.
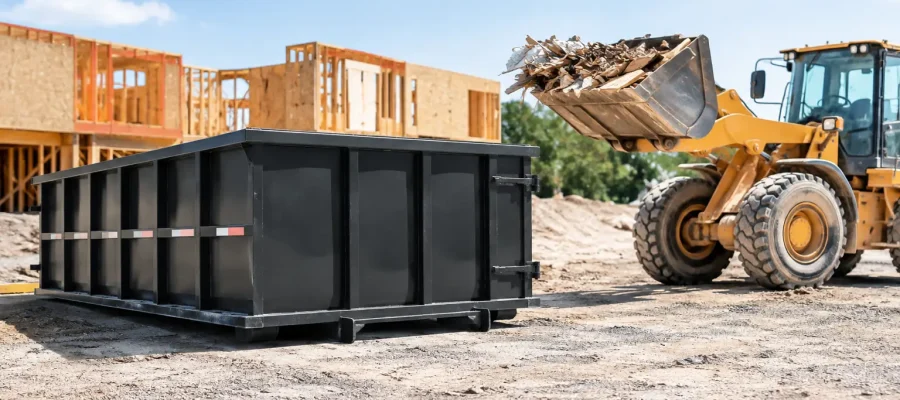
The main debris pile often includes drywall, wood, carpet, padding, trim, cabinets, flooring, insulation, siding, and non-hazardous household construction waste. These materials can usually go into a properly sized dumpster, but weight and local disposal rules still matter.
Heavy materials deserve their own plan. Concrete, brick, block, dirt, rock, and roofing shingles can add weight much faster than homeowners expect. A dumpster that looks only half full can still be over its included weight limit if it is loaded with dense debris. Before you start, tell your disposal provider what materials you expect to have. Clear information up front is the best way to get the right container, understand weight limits, and avoid surprise charges.
A roll-off dumpster is made for substantial non-hazardous debris, not every material that comes out of a renovation. Restricted items can create safety problems, damage equipment, or require specialized disposal.
Do not assume these materials can go in with regular construction debris:
If you are remodeling an older home, pause before tearing out old flooring, ceiling texture, pipe insulation, or siding that could contain asbestos. Do not bag it up and hope for the best. Professional testing and approved handling are the responsible route. The same goes for lead paint concerns. Regular demolition debris and hazardous materials should never be mixed.
Wet paint needs special attention. If a can is completely dried out and local rules allow it, it may be handled differently than liquid paint. But never pour paint, chemicals, or wash water into a dumpster, storm drain, yard, or sink. When in doubt, ask before loading.
There are two practical answers to how to dispose renovation debris: load a dumpster yourself or have a junk removal crew do the loading and hauling. The right choice depends on your project, schedule, and labor situation.
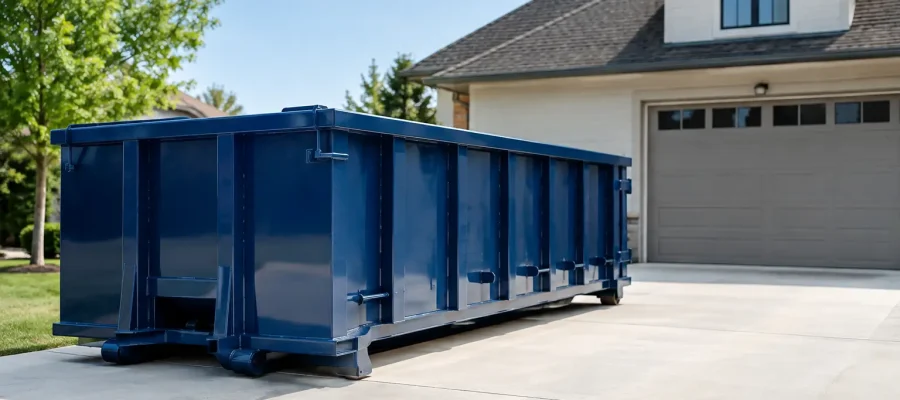
A dumpster rental works well when debris will build up over several days. It gives you a central place to toss materials as demolition moves along, rather than stacking waste around the property. For many remodeling projects, a 20-yard roll-off offers enough room for bulky material without taking over the entire driveway. It is a good fit for flooring removal, a moderate kitchen or bath remodel, garage clean-outs, small construction work, and property cleanup projects.
Full-service junk removal makes more sense when you need the mess gone quickly or do not want to do the lifting. This can be especially helpful after an estate clean-out, eviction turnover, storage-unit clean-out, or renovation where heavy furniture and debris are mixed together. A crew can remove the items, load them, and haul them away while you focus on the next part of the job.
For Knoxville-area homeowners and property managers, THORTEX Dumpsters offers both options: a 20-yard roll-off for self-loading projects and full-service junk removal when you want the labor handled too. The key is being honest about what is on the job site, how much there is, and when you need it gone.
A dumpster is convenient, but how you load it affects safety, pickup, and cost. Start with flat materials such as drywall, plywood, cardboard, and old flooring. Place them along the bottom and sides to build a stable base. Then add bulky items, breaking down cabinets, shelving, and furniture when practical.
Keep heavy debris distributed across the container instead of piling it all in one corner. Do not try to save space by packing debris above the top rail. Roll-off dumpsters must be safely covered and transported on public roads. Overfilled containers can delay pickup until excess material is removed.
If the dumpster has a loading door, use it for heavy items rather than lifting everything over the side. Walk heavy materials in carefully, keep children and pets away from the work area, and wear gloves, boots, and eye protection during demolition and loading. Nails, broken tile, sharp metal, and splintered wood have a way of turning a simple cleanup into an urgent-care visit.
Also think about access before delivery. A driveway is often the best location, but vehicles must be moved first and overhead clearance matters. Low tree limbs, utility lines, tight gates, and soft ground can all affect placement. If you are concerned about a paved driveway, ask about using boards under the container. It is a straightforward conversation worth having before the truck arrives.
The biggest mistake is waiting until the renovation is already underway to make a debris plan. By then, the driveway is crowded, workers are stepping around waste, and a rushed decision can cost more than it should. Schedule your dumpster or removal service around the demolition date, not after the pile appears.
Another common issue is underestimating debris volume. Old cabinets and carpet may not weigh much, but they take up space. Tile and concrete may not fill much space, but they get heavy quickly. If your project includes both bulky and dense material, explain that when you call or text. A good provider will help you decide whether one container is appropriate or whether materials need to be handled in stages.
Finally, do not treat a curb or empty lot as a temporary disposal site. Besides looking bad for neighbors, illegal dumping can lead to fines and creates a real burden for the property owner. Responsible disposal protects your schedule, your property, and the community you live in.
When the work is done, take one final walk around the dumpster before requesting pickup. Make sure no restricted materials were tossed in by mistake, nothing is sticking above the container, and the truck has a clear path to reach it. If your project ran long, ask about an extension instead of rushing the final cleanup. A little flexibility is far better than leaving debris exposed in the yard or driveway.
Renovation debris is part of the job, but it does not have to become the job. Make the disposal plan early, load safely, and ask direct questions about accepted materials, weight, scheduling, and pricing. Then you can spend your energy on the finished space, not on figuring out where the mess will go.
Post a Comment